Category: Mac Utilities

  • Aescripts Glasswork 2.1.0 for Mac

    Aescripts Glasswork 2.1.0 for Mac

    Aescripts Glasswork 2.1.0 for Mac

    Aescripts Glasswork 2.1.0 for Mac

    Mac Utilities
    Updated Aug 10, 2026
    Mac Utilities • Updated Aug 10, 2026

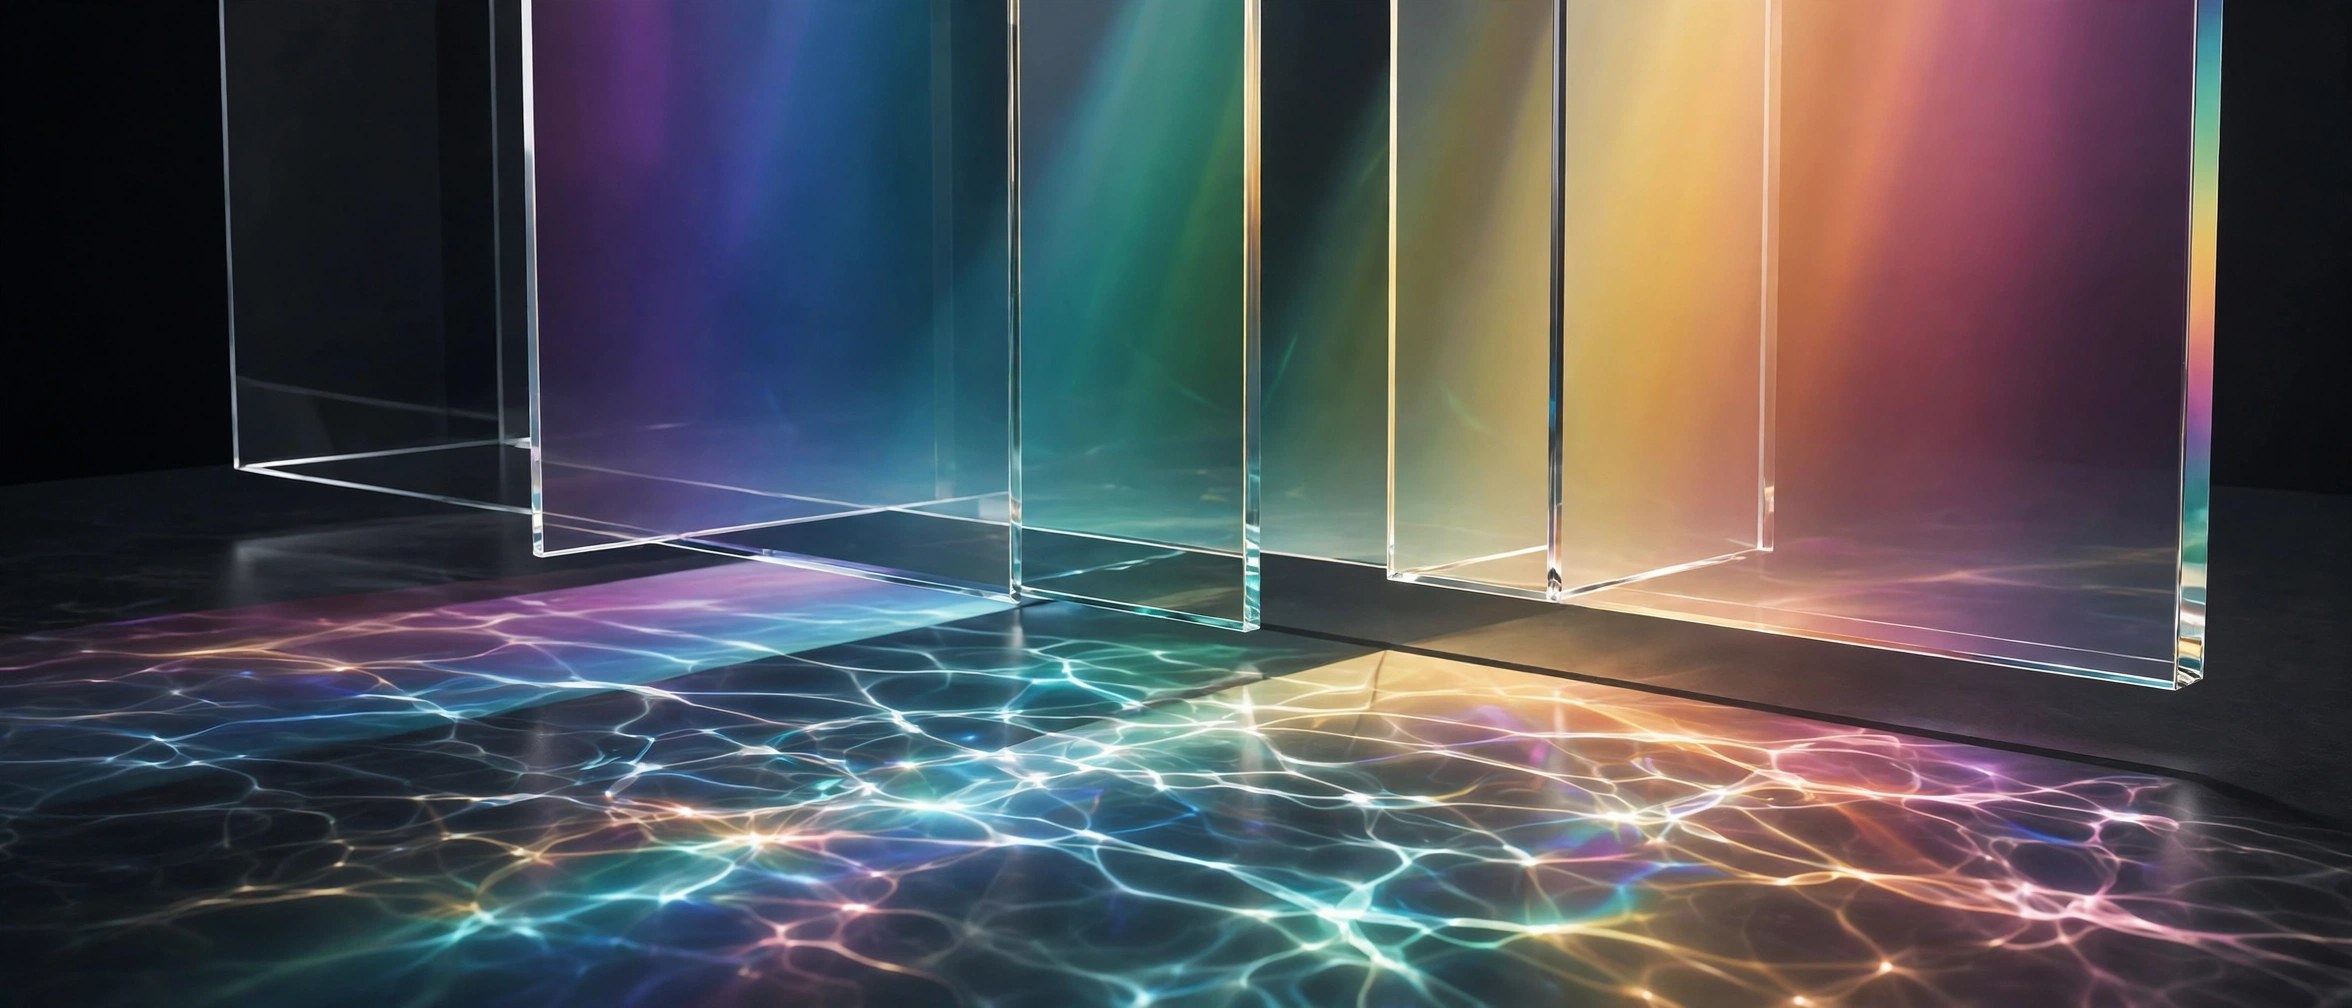
    Glasswork is a plugin for After Effects and other hosts that lets you view your footage as if it were seen through real glass. Ribbed, fluted and patterned surfaces bend and refract the image, turning plain shots into textured backgrounds for titles, product films and music videos. It renders on the GPU, so you can adjust the pattern and strength and see the result update while you work rather than waiting for previews.

    Key Features

    • Refracts footage through procedural glass surfaces such as strips, zigzags and waves
    • Lets you feed in your own texture to shape a custom glass pattern
    • Renders on the GPU for smooth previews while you design the look
    • Gives detailed control over the pattern, refraction and overall glass character
    • Installs and licenses through the aescripts and aeplugins manager app

    How to Download

    1. Click the download button on this page and save the Glasswork file to your Mac.
    2. Install it with the aescripts manager app or place the plugin file as the documentation describes.
    3. You can also Download from the official site to get Glasswork from aescripts itself.

    System Requirements

    Glasswork needs a supported host such as After Effects on macOS and a graphics setup with OpenGL 3.3 support or better, and it will not run on a machine with no screen.

    FAQs

    Which programs can use Glasswork?

    The documentation covers After Effects and Premiere Pro, with builds listed for DaVinci Resolve and Nuke by the developer.

    What happens in the trial version?

    Without a license the plugin runs as a trial and draws a red X over the image, which disappears once you register your key.

    Can I design my own glass pattern?

    Yes. Alongside the built in patterns you can supply your own texture and use it as the surface the image is refracted through.

  • Epson Connect Printer 2.2.0 for Mac

    Epson Connect Printer 2.2.0 for Mac

    Epson Connect Printer 2.2.0 for Mac

    Epson Connect Printer 2.2.0 for Mac

    Mac Utilities
    Updated Aug 10, 2026
    Mac Utilities • Updated Aug 10, 2026

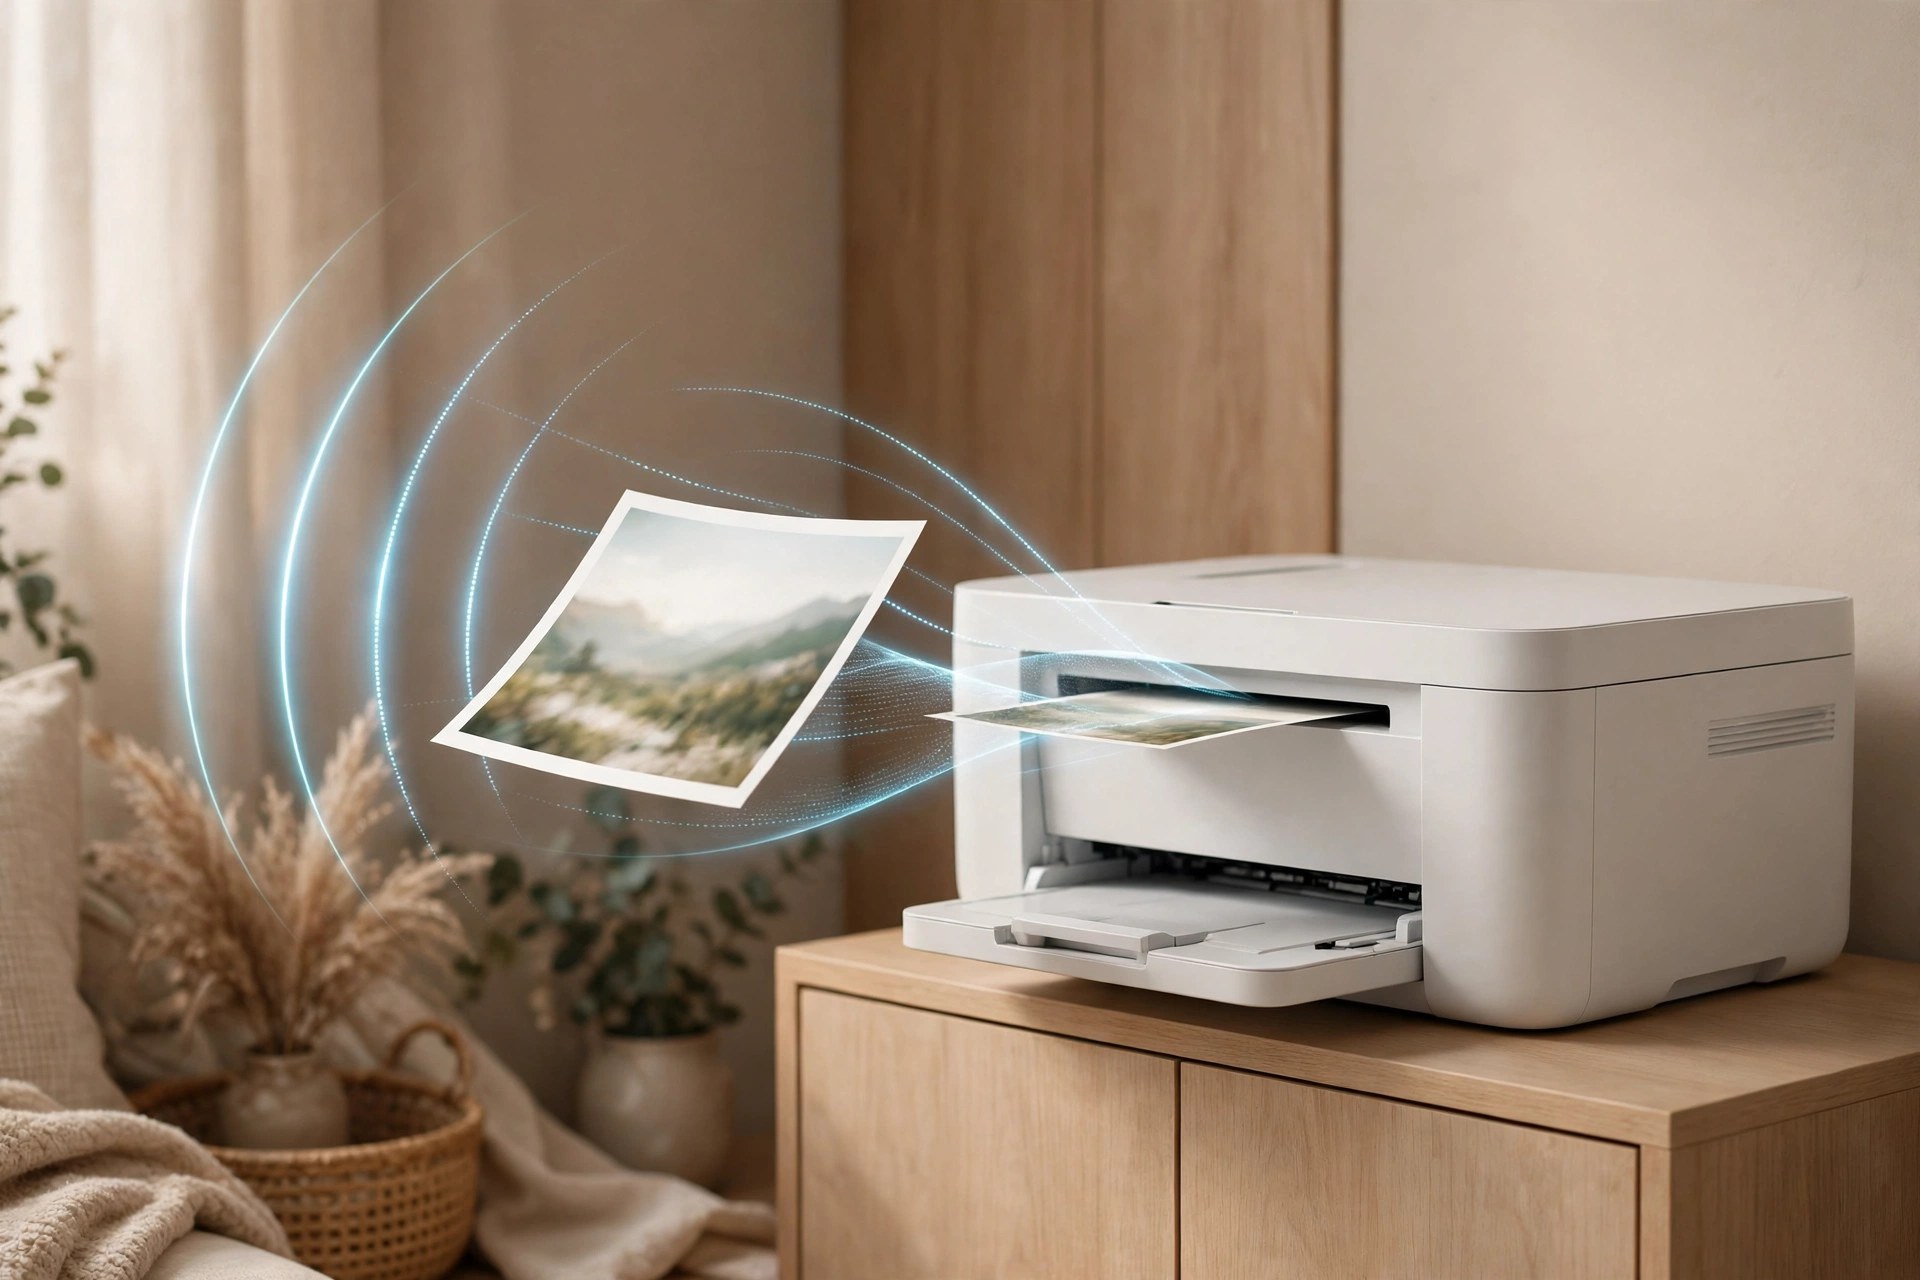
    The Epson Connect Printer Setup Utility is the small Mac tool that links your Epson printer to the Epson Connect service. Once registered, your printer gains its own email address, and you can send documents and photos to it and watch them print, wherever you are. The same setup also enables Remote Print and Scan to Cloud, where scans go straight from the printer to cloud storage.

    Key Features

    • Registers your printer with the Epson Connect service from your Mac
    • Email Print gives your printer an email address for printing from anywhere
    • Remote Print support for printing over the internet from other devices
    • Scan to Cloud sends scans from the printer to cloud destinations
    • Guides you through account creation and printer registration

    How to Download

    1. Use the download button on this page, or Download from the official site to reach Epson Connect.
    2. Run the utility and accept the licence agreement to install it.
    3. Select your printer, choose Printer Registration, and follow the prompts.

    System Requirements

    You need an Epson printer that supports Epson Connect, joined to the internet over a wireless or Ethernet network, plus a Mac to run the setup. Check your printer support page for its macOS list.

    FAQs

    What does Epson Connect actually do?

    It is a free Epson service for printing and scanning from anywhere, covering Email Print, Remote Print and Scan to Cloud once your printer is registered.

    Do I need an Epson Connect account?

    Yes. The utility walks you through creating an account and registering your printer, and that account manages the printer and its services.

    Why does the utility not find my printer?

    Check the printer is on and on the same network as your Mac. If the setup window does not appear, open the utility from the Epson Software folder in Applications.

  • MouseBoost Pro 5.3.0 for Mac

    MouseBoost Pro 5.3.0 for Mac

    MouseBoost Pro 5.3.0 for Mac

    MouseBoost Pro 5.3.0 for Mac

    Mac Utilities
    Updated Aug 10, 2026
    Mac Utilities • Updated Aug 10, 2026

    MouseBoost Pro puts a large toolbox inside the Finder right click menu, right where you already work. Instead of opening separate apps for small jobs, you select files, right click and pick the tool you need. It suits developers, designers and anyone who handles many files each day and wants routine tasks to take seconds.

    Key Features

    • Create new files from the right click menu in any folder
    • Open folders in Terminal or code editors in one click
    • Rename many files at once and copy names, paths or checksums
    • Convert, resize and stitch images and make PDF files
    • Share files on your local network with a QR code

    How to Download

    1. Use the download button on this page to get MouseBoost Pro for your Mac.
    2. Open the file you saved and move the app into your Applications folder.
    3. Launch the app and follow its steps to allow the Finder extension, then right click any file to see the new menu.

    System Requirements

    MouseBoost Pro needs macOS 12.3 or later according to its store listing. The app is sold through the Mac App Store as a single purchase with Family Sharing.

    FAQs

    How does MouseBoost Pro change Finder?

    It adds many extra actions to the right click menu for files and folders. You choose which tools appear, so the menu stays useful.

    Is there a free version?

    Yes. A free MouseBoost app offers a lighter set of tools with an in app upgrade, while the Pro version includes the full collection from the start for people who use it daily.

    Can I open a folder in Terminal from the menu?

    Yes. One of its most used actions opens the current folder in Terminal or in a code editor, which saves developers from launching the app and browsing to the same place.

  • MongoDB Compass 1.53.2 for Mac

    MongoDB Compass 1.53.2 for Mac

    MongoDB Compass 1.53.2 for Mac

    MongoDB Compass 1.53.2 for Mac

    Mac Utilities
    Updated Aug 10, 2026
    Mac Utilities • Updated Aug 10, 2026

    MongoDB Compass is the official graphical tool for MongoDB databases, made by MongoDB itself. Instead of typing every command into a shell, you browse your data in a clear visual layout, see the shape of your documents at a glance, and build queries by pointing and clicking. It suits developers and database admins who want a calmer way to inspect project data.

    Key Features

    • Browse databases, collections and documents in a clear visual tree
    • Explore schemas to see field types and value patterns in a collection
    • Build queries with a visual query bar and helpful autocomplete
    • Create aggregation pipelines stage by stage with live previews
    • View, create and drop indexes, and edit or delete documents directly

    How to Download

    1. Use the download button on this page to get the MongoDB Compass installer for Mac.
    2. Or Download from the official site and follow the MongoDB guide for Mac.
    3. Open the downloaded file, move Compass to Applications, then connect to your database.

    System Requirements

    You need a Mac running a recent macOS release, with the Intel or Apple Silicon build that matches your machine. You also need the connection details for the database you want to open.

    FAQs

    Is MongoDB Compass free to use?

    Yes. The full Compass edition is free, and MongoDB also offers a read only edition and an isolated edition that limits network connections to MongoDB only.

    Can Compass connect to MongoDB Atlas?

    Yes. You can paste an Atlas connection string into Compass and sign in to browse cloud databases in the same visual way as local ones.

    Do I still need the MongoDB shell?

    Not for most daily work. Compass covers browsing, queries, pipelines and index tasks visually, and it also includes an embedded shell for moments when typing a command is quicker.

  • Aescripts AE Glass 1.3.0 for Mac

    Aescripts AE Glass 1.3.0 for Mac

    Aescripts AE Glass 1.3.0 for Mac

    Aescripts AE Glass 1.3.0 for Mac

    Mac Utilities
    Updated Aug 10, 2026
    Mac Utilities • Updated Aug 10, 2026

    AE Glass is a plugin for Adobe After Effects, sold through aescripts + aeplugins and made by SphereLab. Drop the effect onto a shape, a line of text, a logo or a mask, and that layer turns into convincing glass. The refraction is live, so the glass bends whatever sits behind it as your composition plays, and you can dial in frost, edge light and dispersion to taste. There are no displacement maps to build and no setup ritual.

    Key Features

    • Live refraction that bends the layers behind your glass in real time
    • Frost controls for clear, misted or heavily frosted glass looks
    • Edge light and dispersion for realistic glass borders and colour fringing
    • Works on shapes, text, logos, masks and layers via the adjustment layer switch
    • Native effect with no graphics card required, in 8 bit and 16 bit colour

    How to Download

    1. Use the download button on this page, or Download from the official site to open the product page.
    2. Get the plugin and install it with the aescripts + aeplugins manager app.
    3. Restart After Effects, apply AE Glass to a layer, and adjust the effect controls.

    System Requirements

    AE Glass needs Adobe After Effects 2025, 2026 or 2027 on macOS. It is a native effect plugin and needs no dedicated graphics card.

    FAQs

    Is AE Glass a standalone app?

    No. It is an effect plugin that lives inside Adobe After Effects, applied to layers in a composition like any other native effect.

    What can I turn into glass?

    Shapes, text, logos and masks all work, and the adjustment layer switch lets the effect work on many other sources too.

    How are updates and licences handled?

    Sales, licence keys and updates are handled through aescripts + aeplugins, and the manager app installs the plugin for you.

  • FotoMagico 6.11.0 for Mac

    FotoMagico 6.11.0 for Mac

    FotoMagico 6.11.0 for Mac

    FotoMagico 6.11.0 for Mac

    Mac Utilities
    Updated Aug 10, 2026
    Mac Utilities • Updated Aug 10, 2026

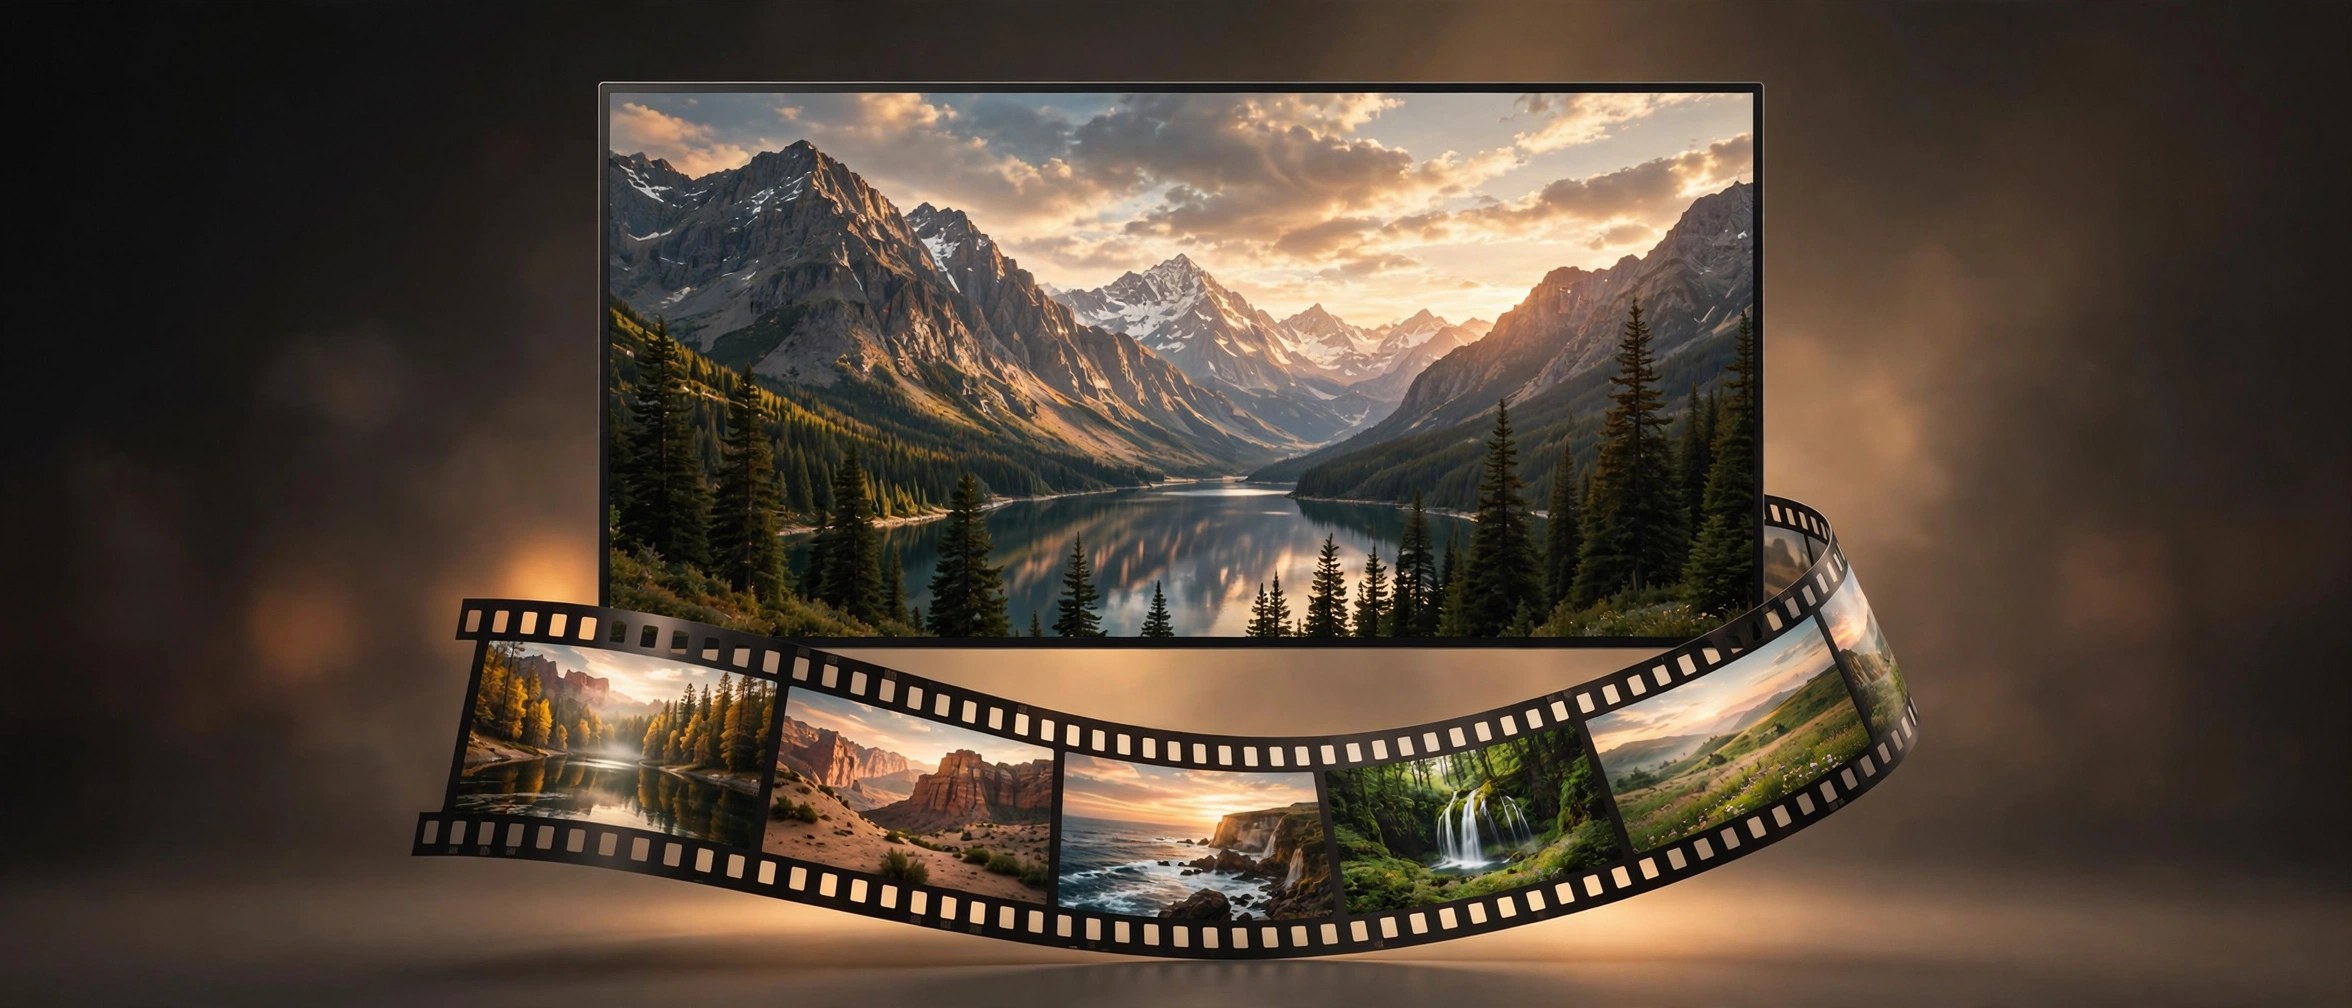
    FotoMagico from Boinx Software turns your photos and video clips into slideshows that feel like short films. You arrange images on a stage, add music and titles, and the app plays the result in full resolution without a long render. It suits photographers and families who want a travel story or event recap to look polished.

    Key Features

    • Build slideshows from photos, video clips, music and text on a visual stage
    • Play slideshows at once in full resolution with smooth pan and zoom animation
    • Add travel routes with the Map Assistant and chapters with ready made snippets
    • Record narration and lower music volume per slide when you present live
    • Share finished shows as video files or present them on Mac and iPad

    How to Download

    1. Use the download button on this page to get FotoMagico for your Mac.
    2. Open the file you saved and move the app into your Applications folder.
    3. You can also Download from the official site where Boinx lists the current release and its notes.

    System Requirements

    Recent FotoMagico 6 releases need macOS 14 or later and an Apple silicon or 64 bit Intel Mac. The same license also covers the companion iPad app.

    FAQs

    Is FotoMagico a video editor?

    Not in the usual sense. It focuses on slideshows, so you combine still photos with short clips, music and text. That narrower focus makes it faster to learn than a general video editor.

    Can I present a slideshow live?

    Yes. FotoMagico plays shows in full resolution without rendering first, and audio ducking on slides lets you speak over quieter music while you present.

    Does FotoMagico work on iPad too?

    Yes. FotoMagico runs on Mac and iPad, and projects can move between them through iCloud Drive, so you can start a show and present it from your iPad.

  • Aescripts RXXR 1.1.0 for Mac

    Aescripts RXXR 1.1.0 for Mac

    Aescripts RXXR 1.1.0 for Mac

    Aescripts RXXR 1.1.0 for Mac

    Mac Utilities
    Updated Aug 10, 2026
    Mac Utilities • Updated Aug 10, 2026

    RXXR is a plugin for Adobe After Effects on Mac, sold through aescripts. It is not a standalone app. It lives inside After Effects as an effect and rebuilds your footage as ASCII characters and chunky pixel patterns, giving clips a raw techno glitch look. Motion designers reach for it when a title or music visual needs that coded, terminal style energy.

    Key Features

    • Turns live footage into ASCII character art inside After Effects
    • Pixel based rendering modes for blocky digital glitch looks
    • Choice of character sets and fonts to shape the final texture
    • Controls for cell size, brightness response and colour behaviour
    • Animatable settings so the effect can flicker, grow and shift over time

    How to Download

    1. Use the download button on this page to get the RXXR package for Mac.
    2. Or Download from the official site through the aescripts product page.
    3. Install the plugin, restart After Effects and apply RXXR from the effects menu.

    System Requirements

    You need a Mac with Adobe After Effects installed, since RXXR runs only inside the host app. Check the aescripts product page for the exact After Effects versions supported by this release before you install it into a busy project machine.

    FAQs

    Is RXXR a standalone Mac app?

    No. RXXR is an After Effects plugin. You install it into After Effects and apply it to a layer, just like a built in effect.

    Can RXXR work on text and logos?

    Yes. It can process any layer you give it, including text, shapes and precompositions, which makes it popular for titles and logo treatments.

    Does the effect animate on its own?

    The look responds to your footage frame by frame, and you can keyframe its controls to push the glitch harder at chosen moments in the timeline.

  • Video Compressor ShrinkFile 2.12.0 for Mac

    Video Compressor ShrinkFile 2.12.0 for Mac

    Video Compressor ShrinkFile 2.12.0 for Mac

    Video Compressor ShrinkFile 2.12.0 for Mac

    Mac Utilities
    Updated Aug 10, 2026
    Mac Utilities • Updated Aug 10, 2026

    Video Compressor ShrinkFile is a small Mac app for shrinking video, image and audio files without sending them anywhere. Everything runs on your own machine, which suits phone clips and screen recordings that are too big to email or post.

    Key Features

    • Compresses MOV, MP4, M4V and MKV video while keeping the original codec where it can, including H.264, HEVC, VP9 and AV1
    • Smart bitrate control with an automatic mode or custom settings, plus adjustable output resolution up to 4K
    • Batch processing for video, image and audio files in a single run
    • Hardware acceleration through VideoToolbox, which keeps encoding quick on supported Mac hardware
    • All processing happens on your device with no internet connection required, so files never leave your Mac

    How to Download

    1. Click the download button on this page and save the app file to your Mac.
    2. You can also Download from the official site if you prefer the developer store listing.
    3. Open the app, add your first video, pick a size or bitrate setting and start the compression.

    System Requirements

    ShrinkFile needs macOS 14.0 or later and a Mac with an Apple M1 chip or later, per the current store listing. Keep some free space ready for your copies.

    FAQs

    Does ShrinkFile upload my videos to a server?

    No. Compression happens locally on your Mac and the app works without an internet connection, so your media stays on your own machine.

    Which file types can it handle?

    It covers MOV, MP4, M4V and MKV video, and it can also compress and convert image and audio files in batches.

    Will a smaller file look worse?

    It depends on the settings. Gentle settings keep quality close to the original, while very low bitrates trade more picture detail for a much smaller file.

  • Aescripts Amalgam 1.5.0 for Mac

    Aescripts Amalgam 1.5.0 for Mac

    Aescripts Amalgam 1.5.0 for Mac

    Aescripts Amalgam 1.5.0 for Mac

    Mac Utilities
    Updated Aug 10, 2026
    Mac Utilities • Updated Aug 10, 2026

    Amalgam is a plugin for Adobe After Effects, also sold through aescripts, that blends one shot into another so the join reads like a morph instead of a dissolve. It comes from Pixel Sorter Studio. Rather than fading opacity, it splits both images into frequency bands and blends each band through a mask, which hides seams and keeps detail sharp.

    Key Features

    • Blend a layer into a target layer with frequency based blending
    • Drive the reveal with brightness, a directional wipe or both
    • Control the blend with Transition, Smoothness and Pyramid Levels settings
    • Start from ready made presets and tune them to taste
    • Ships as an effect for After Effects plus a transition for Premiere Pro

    How to Download

    1. Use the download button on this page to get the Amalgam installer for your Mac.
    2. Quit After Effects, then install with the aescripts manager app or copy the plugin file to the MediaCore folder.
    3. You can also Download from the official site to get the plugin straight from Pixel Sorter Studio.

    System Requirements

    Amalgam needs Adobe After Effects on an Intel or Apple silicon Mac, or 64 bit Windows. It runs on the CPU and does not need a GPU.

    FAQs

    Is Amalgam a standalone app?

    No. Amalgam is a plugin that lives inside host apps, mainly Adobe After Effects on Mac. The same purchase also covers Premiere Pro, DaVinci Resolve and Nuke.

    How is it different from a cross dissolve?

    A dissolve fades one image out as the other fades in. Amalgam blends tones and detail in separate bands, so the change feels like one image turning into the next.

    What happens without a license?

    The plugin runs as a trial and draws a red X over the image. Adding your license key in the effect controls removes the mark.

  • DockFolders 1.0.2 for Mac

    DockFolders 1.0.2 for Mac

    DockFolders 1.0.2 for Mac

    DockFolders 1.0.2 for Mac

    Mac Utilities
    Updated Aug 10, 2026
    Mac Utilities • Updated Aug 10, 2026

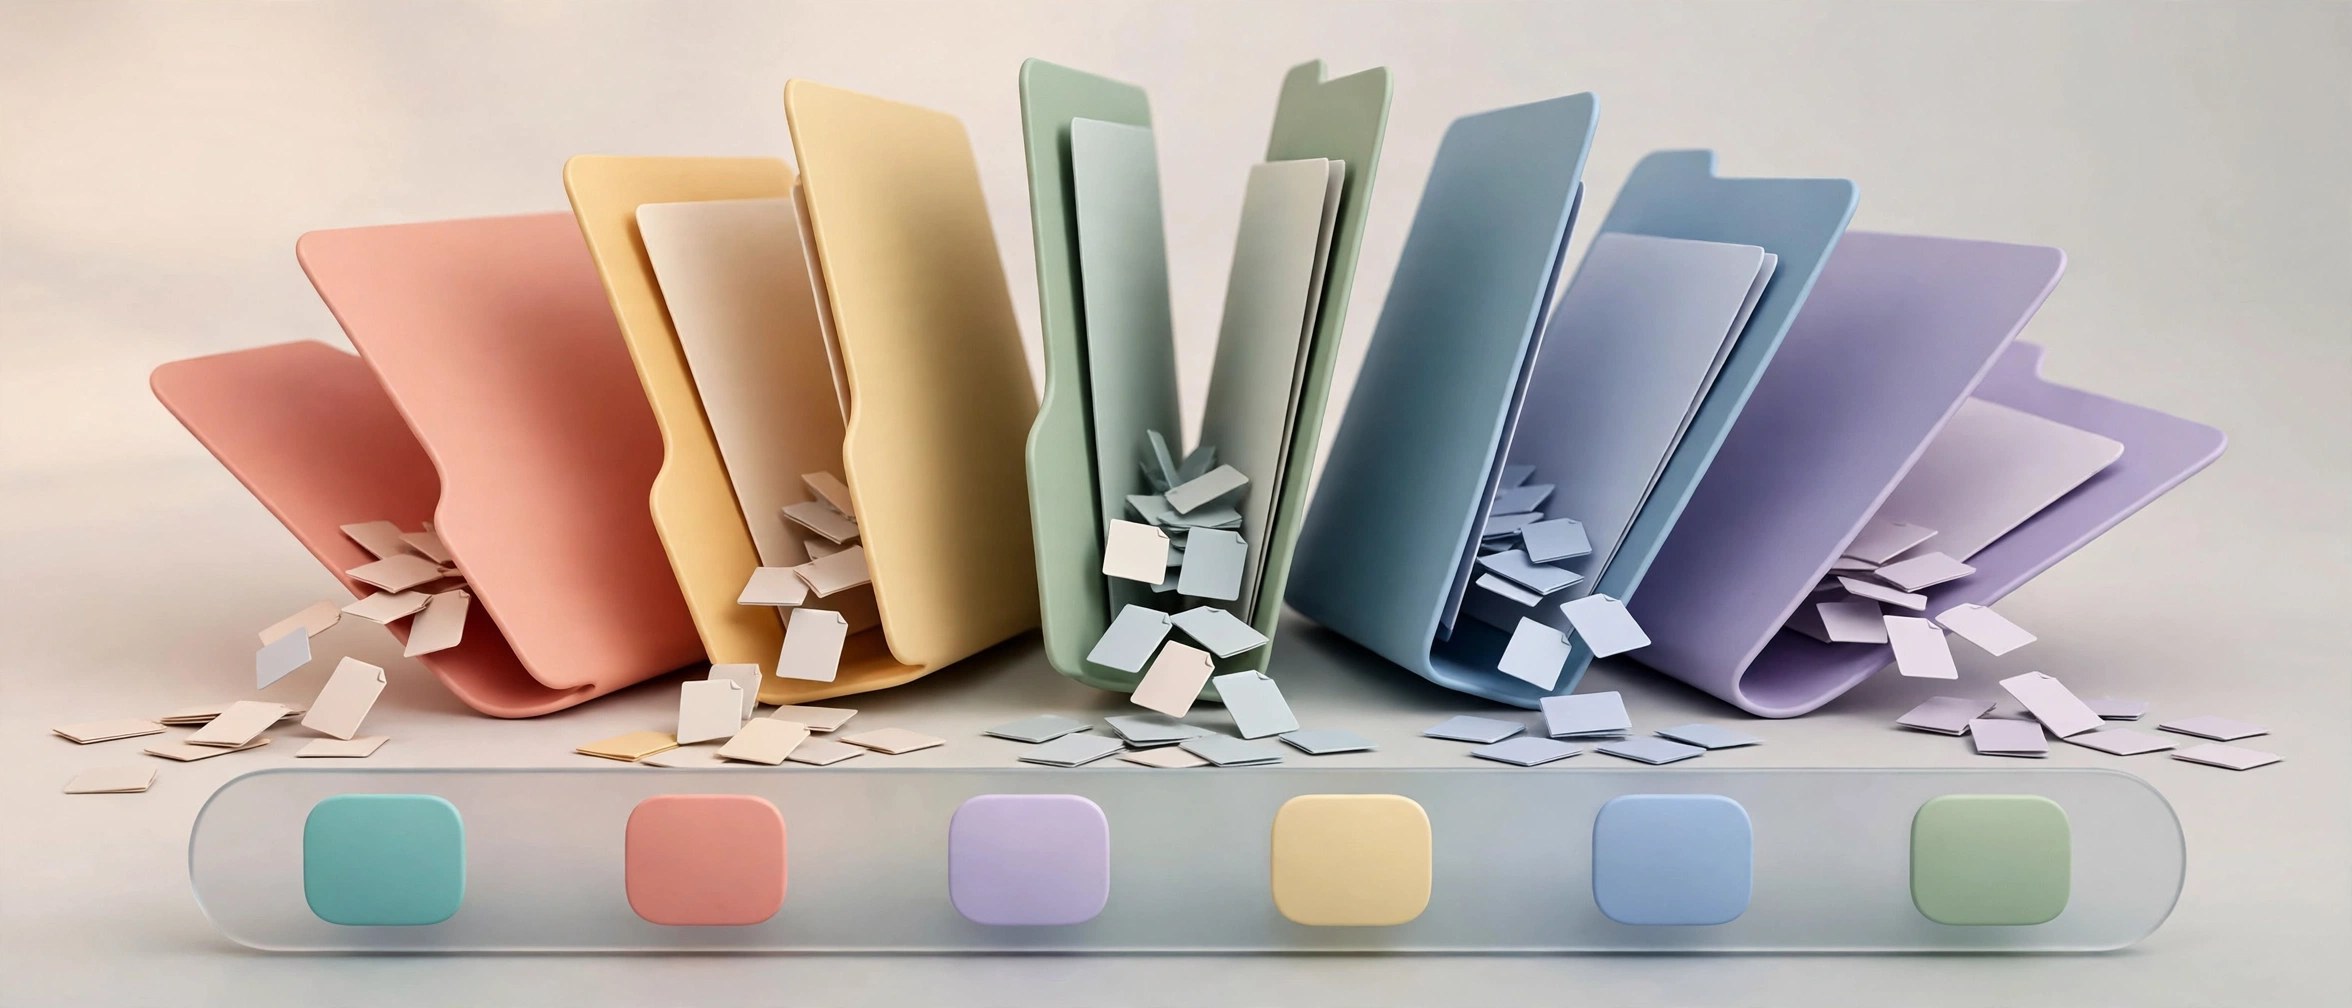
    DockFolders is a small Mac utility for people whose Dock has grown into a long, crowded row. It lets you gather related apps and files into folders that sit in the Dock itself, so one click opens the group you need and everything else stays out of sight. It suits anyone who switches between clear sets of tools during the day, such as work apps and creative apps.

    Key Features

    • Create folders that group related apps together inside the Dock
    • Open a folder with one click and launch any item inside it
    • Keep rarely used apps close at hand without a crowded Dock
    • Organise groups by project, client or type of work
    • Leaves your apps and files where they are, grouping only the shortcuts

    How to Download

    1. Use the download button on this page to get the DockFolders installer for Mac.
    2. Open the downloaded file and move DockFolders into your Applications folder.
    3. Launch the app, build your first folder and add the apps you use most.

    System Requirements

    DockFolders runs on Mac and works with the standard macOS Dock. A recent macOS release is recommended, and the app itself is light enough for everyday use on modest hardware.

    FAQs

    Does DockFolders replace the macOS Dock?

    No. It works alongside the normal Dock and simply adds folder based grouping to it, so your usual way of launching apps stays familiar.

    Will grouping move my apps or files?

    No. Your apps stay in Applications and your files stay where they live. The folders hold shortcuts, so removing a folder never deletes the real items.

    Can I have more than one folder?

    Yes. Making several folders is the whole point, for example one for work, one for writing and one for games, each ready in the Dock.