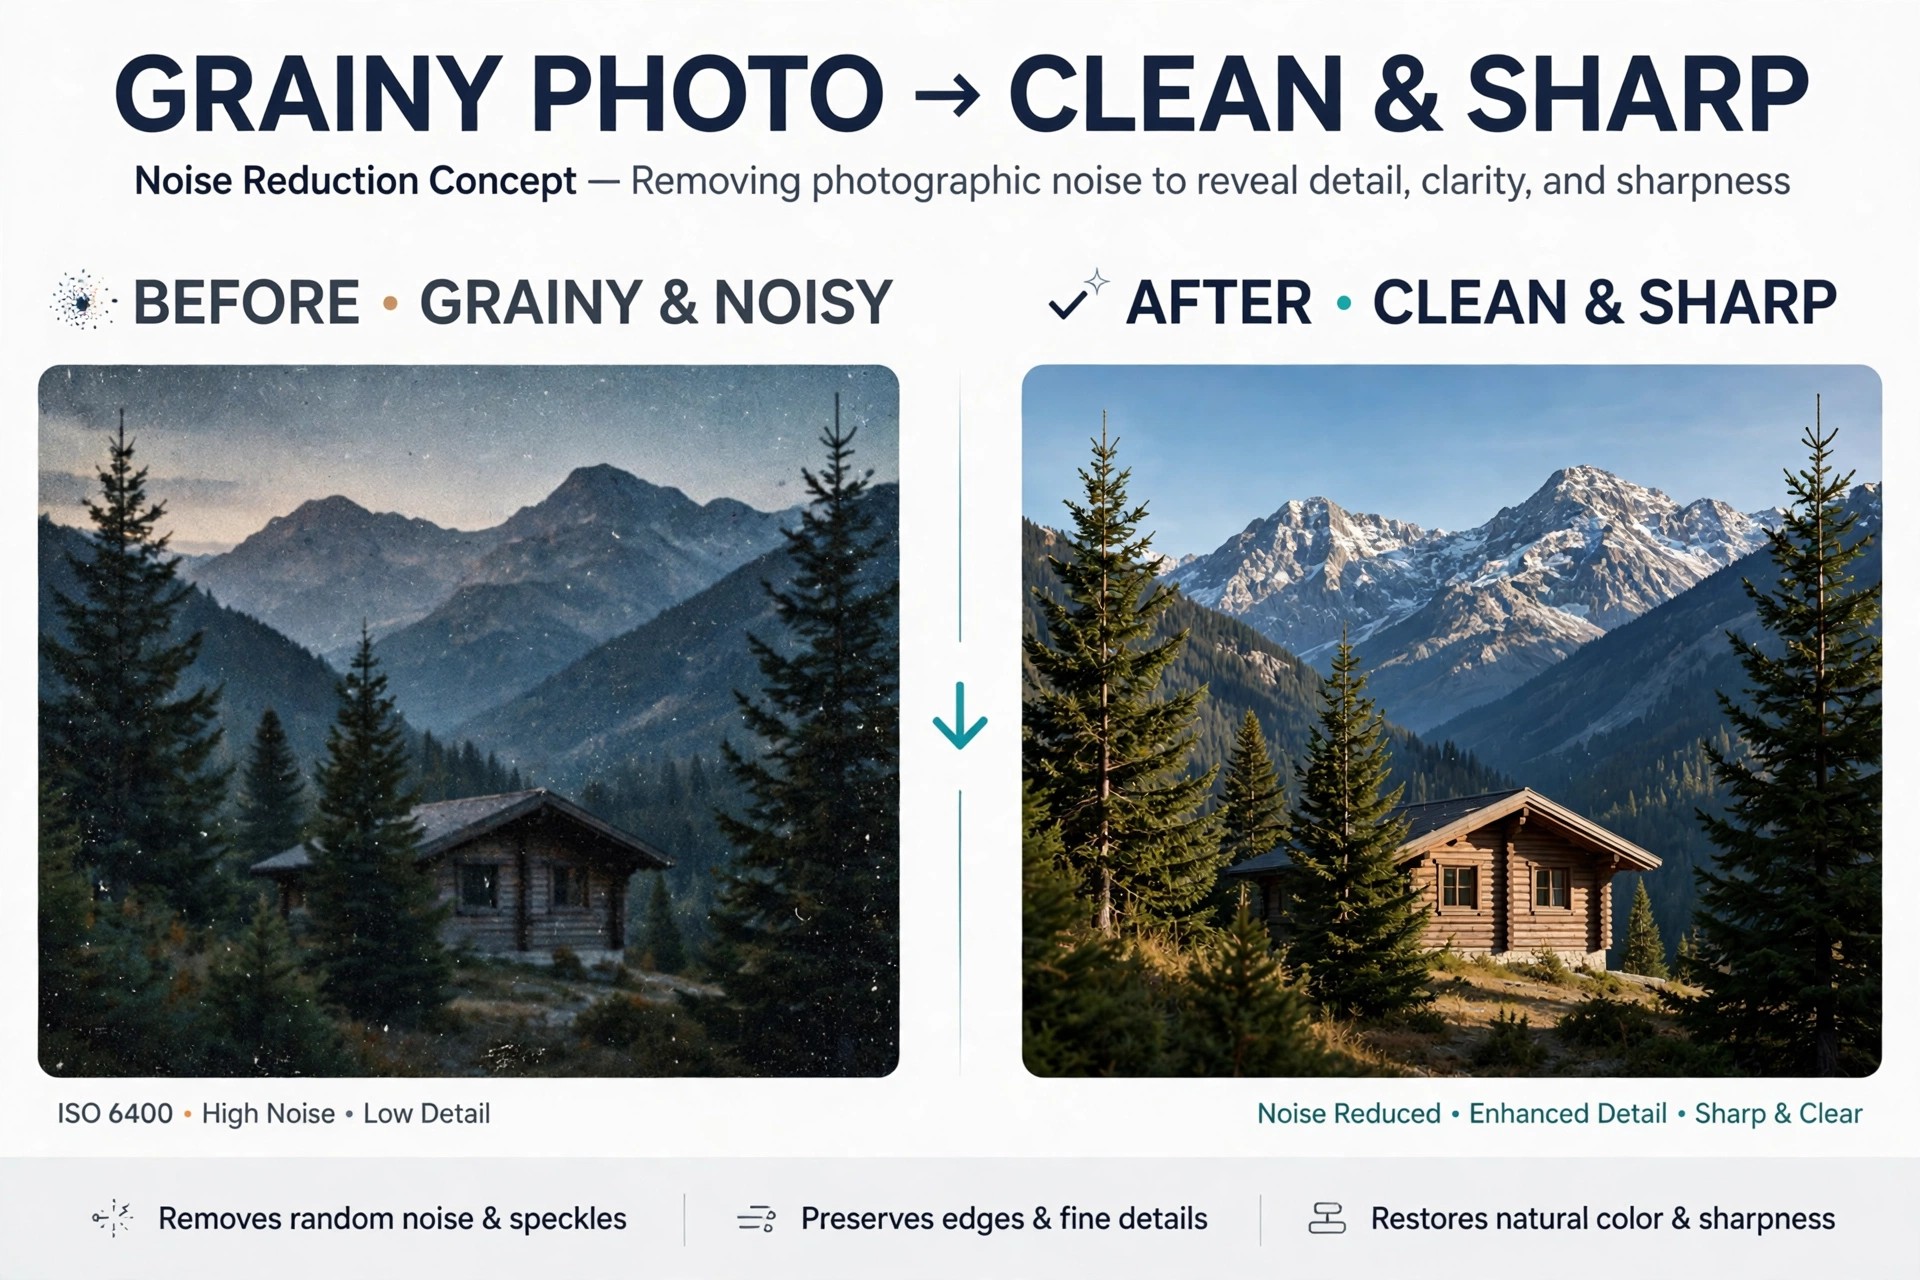
AKVIS Noise Buster 10.0.2 for Mac
Mac Photo & DesignAKVIS Noise Buster 10.0.2 for Mac is a dedicated noise reduction tool from AKVIS, made for the grain and coloured speckling that creep into photos shot at high ISO, in low light, or with small-sensor cameras and phones. It targets both luminance noise, the gritty texture that roughens skin and skies, and colour noise, the random red and blue pixels that spoil clean tones.
Rather than applying a blanket blur, Noise Buster analyses the image and suppresses the noise while trying to hold on to edges and detail. It works as a standalone Mac application and as a plugin for editors like Adobe Photoshop. It is paid software, and AKVIS offers a free 10-day trial from the official site so you can test it on your noisiest shots before buying a licence.
Key Features
- Reduces both luminance and colour noise without flattening the rest of the photograph
- Automatic filtering gives a good starting result, with sliders to fine-tune strength and detail preservation
- Histogram-guided adjustments help you balance smoothing against sharpness and micro-detail
- Batch processing applies the same noise reduction settings to a whole set of images at once
- Available as a standalone app and as a plugin for Photoshop, Photoshop Elements and other compatible editors
How to Download
- Download from the official site
- Choose the Mac standalone or plugin edition on the AKVIS page, or begin with the free 10-day trial.
- Install the software, run it on a sample photo, and enter your licence key after purchase to remove the trial limit.
Is AKVIS Noise Buster free?
No. Noise Buster is a paid product, not a free full version. The free download is a 10-day trial; continued use requires a Home, Home Deluxe or Business licence from AKVIS.
Will it make my photos look soft?
Heavy noise reduction can soften any image, which is why Noise Buster separates noise controls from sharpening and detail settings. Start with automatic filtering, then lower the strength until the grain is controlled but textures still look natural.






Leave a Reply